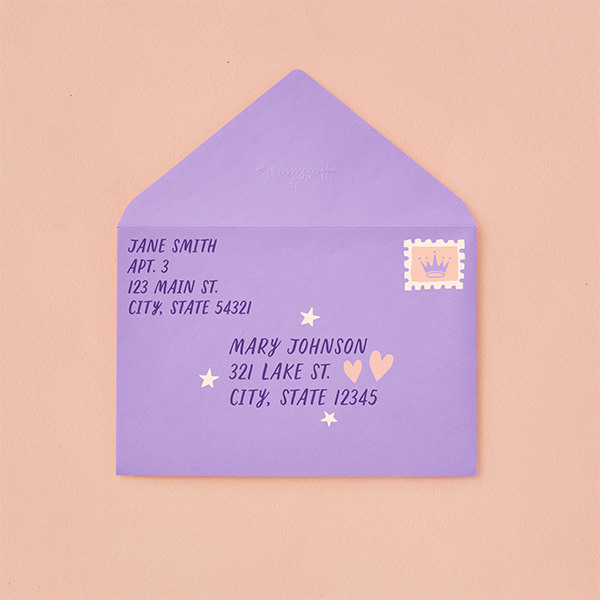
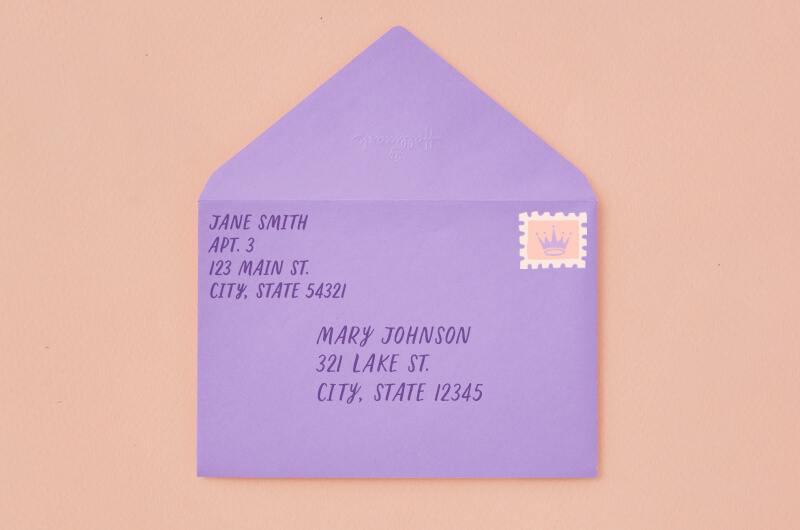
It’s important to get the addresses in the right spots, or you risk your mail landing on your own doorstep instead of the intended recipient’s.
Add Your Return Address
Write your own address (the “return address”) on the top left corner of
the front of the envelope. It’s also acceptable to put it on the back of
the envelope in the middle of the flap.
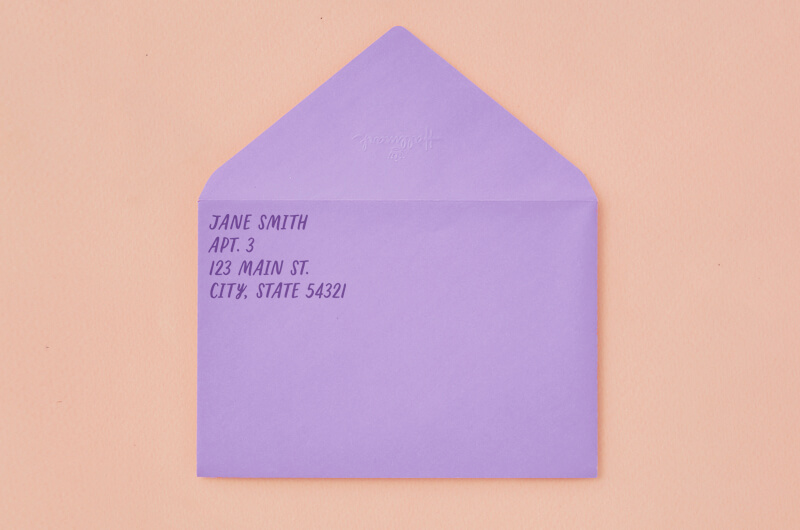
Line 1: Your full name (and title, if appropriate)
Line 2: Business name, building name (if a college dorm, for instance), apartment or suite number, if applicable
Line 3: Street address
Line 4: City State Zip Code
The return address is there in case your mail has the wrong amount of postage or the recipient’s address is inaccurate. The card will be returned to you to fix and resend.
Add the Mailing Address
Next, write the recipient’s name and address in the centre of the front of the envelope.
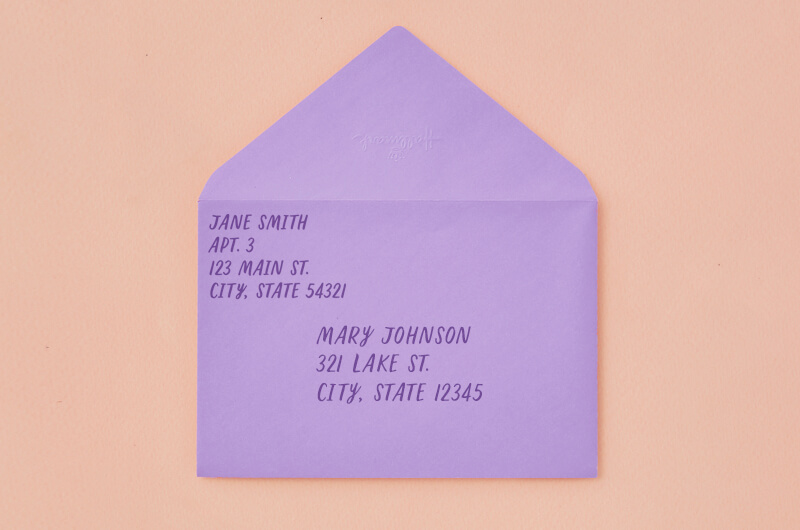
Line 1: Recipient’s full name (and title, if appropriate)
Line 2: Business name, building name (if a college dorm, for instance), apartment or suite number, if applicable
Line 3: Street address
Line 4: City State Zip Code
Bonus points
If you want to make things easy on the Post Office:
• Print neatly in all capital letters.
• Don’t use commas or periods.
• Use the Postal Code.
• Leave about a half-inch of blank space across the bottom, because the post office will put a bar code there.
But also…
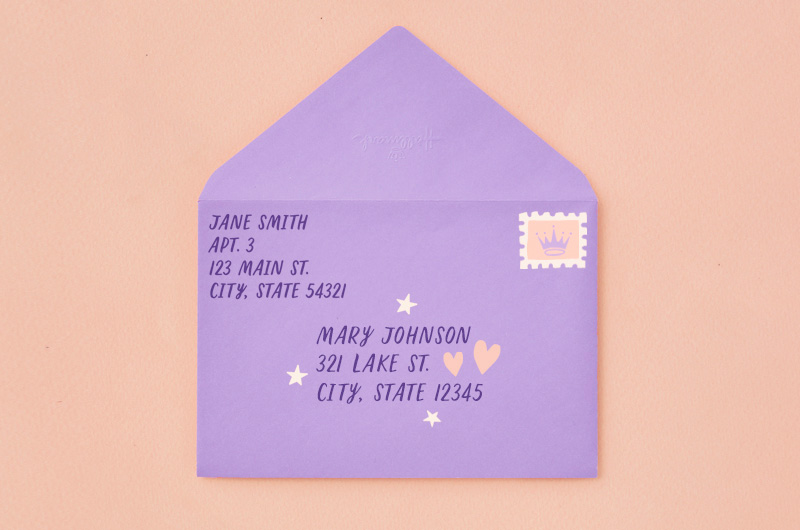
We’re big fans of mail art.
Just make sure the address is legible and the stamps are visible. And
know it will confuse the scanners and computers, so your card may take a
teeny bit longer to arrive at its destination.
Pro tip: If your mail is going outside of the country, follow the format of that country’s addresses and include your own country under the standard return address.
